Layout room reno
Well, eventually a layout room…
I have been away for the last several weeks, first with the NMRA Train Show in Philadelphia, and more recently with the new house in Burford. I have come home for a few days to catch up on some pressing CAD work, and wash the shorts….
We will be building a shop on the property, and in the mean time we are renovating a “wing” on the house to work out of for the next while. Once the new outbuilding is complete, this space will become a main floor layout room off of the dining room, which I am looking forward to!
Here is a shot of the space when we first looked at the house….
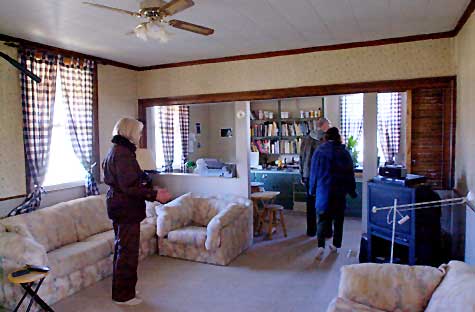
Image Copyright (c) 2006 Tim Warris
It will be a bit cramped for a while, but we are used to that. The payoff will be worth it though….
A few weeks back we got started on the demo. Ron and Russ were out for an evening to “evaluate” the situation.
Here they are “evaluating”. Ron is the one holding up the shovel.
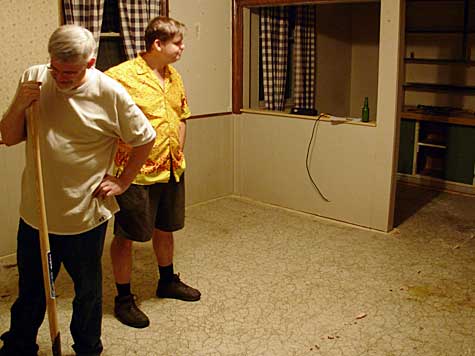
Image Copyright (c) 2006 Tim Warris
We pulled out the carpeting earlier, which was as much fun as a full rectal examination. 10 years of the dogs best were well absorbed in the fibres and the underpad. They are resting comfortably at the Biggars Lane landfill.
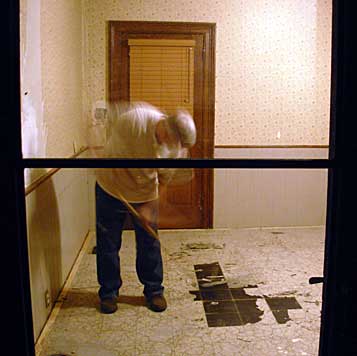
Image Copyright (c) 2006 Tim Warris
We scraped up a bit of the stylish floor tiles to see what lay beneath.
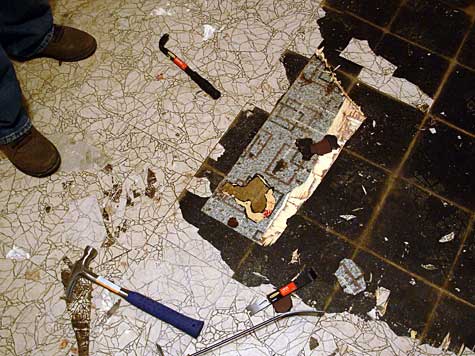
Image Copyright (c) 2006 Tim Warris
What lay beneath was 6 layers of flooring before we struck bottom. It was interesting to see the various styles over the years. About one layer was added every 15 years or so.
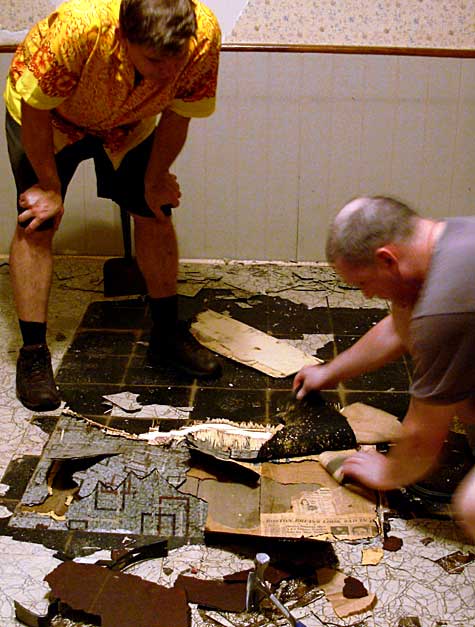
Image Copyright (c) 2006 Tim Warris
Buried deep in the floor layers was some old newspapers. These provided some interesting reading, and a welcome delay in the inevitable labour of floor removage.
Click on the picture for a larger version…
Gandhi video
Image Copyright (c) 2006 Tim Warris
The date on the paper is January 7, 1948.
Click on the picture for a larger version…
Image Copyright (c) 2006 Tim Warris
There was quite a collection of these. We saved what we could.
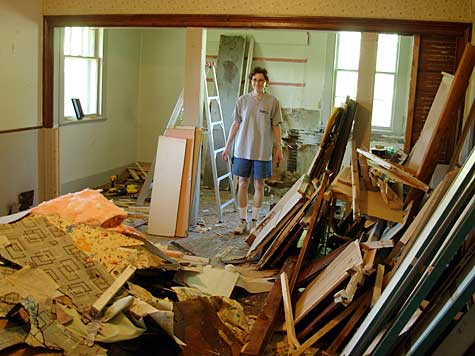
Image Copyright (c) 2006 Tim Warris
With the exploration out of the way the demolition of the floor began in earnest. The next day Ron and I sweated it out and pulled up all the old flooring. To call this work is an understatement. There were at least 117,000 nails in this floor, and the pry bars hit each and every one of them!
This old flooring is resting with the carpeting at the Biggars Lane landfill.

Image Copyright (c) 2006 Tim Warris
Jumping ahead a week, and 20,000 calories, the room is emptied of its various walls, cabinets and flooring scrap. Removing the old cabinets was quite a task. These were fastened with every conceivable type of fastener produced. I could date the renos (or attempts at renos) by the types of fasteners I found. Screws meant a more recent addition. When I finally got down to square nails I knew I was almost at the bottom of the task. The old cabinets and ceiling are resting with the floors and the carpets at the Biggars Lane landfill.
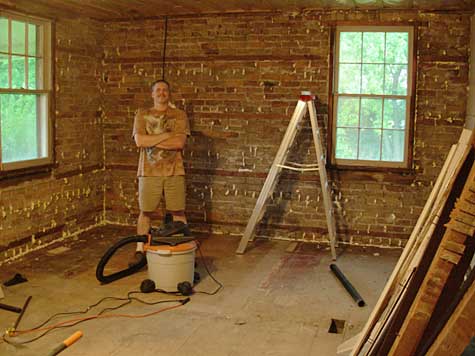
Image Copyright (c) 2006 Tim Warris
Might as well….
“Might as well” has cost more people more money over the years. Since I was in the middle of this simple upgrade, I “might as well” do something with the nice pine plank flooring that was found under all those layers of flooring.
We debated on what to do with the floor. Initially we figured we would simply cover it up with some sheathing until the shop was complete and I would fix it up then. Not wanting to waste money on all that sheathing, that would just have to be pulled up, and we had had enough of that nonsense, we thought about simply painting it.
I really didn’t want to do that, as it would only have to be removed later. So we decided we “might as well” refinish it now.
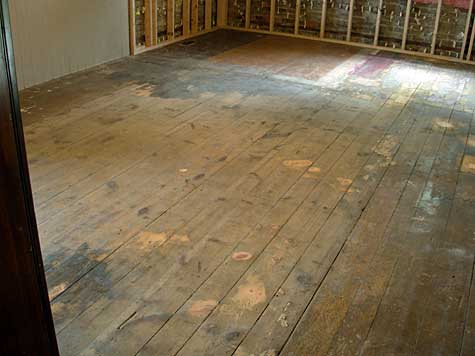
Image Copyright (c) 2006 Tim Warris
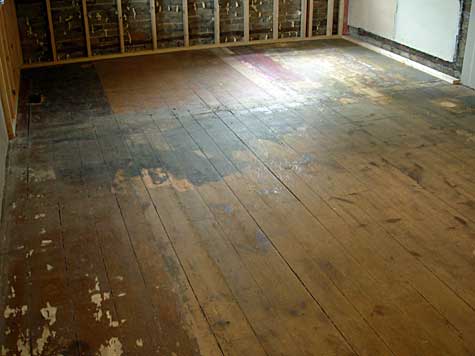
Image Copyright (c) 2006 Tim Warris
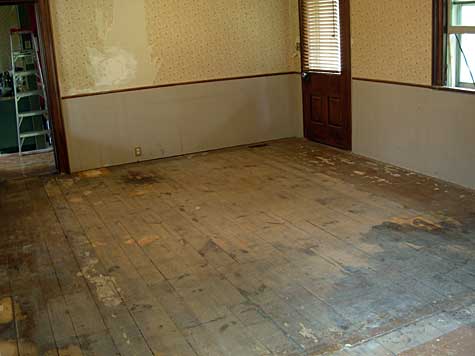
Image Copyright (c) 2006 Tim Warris
Calling the flooring that we found “nice” was a bit of an optimistic statement. There was quite a combination of interesting finishes. Some of completely unfinished wood floor, covered in several decades of dirt, various sections of painted floor, some with only a single coat of paint, others with dozens of coats of paint, a few “mystery materials” that resembled asbestos, some large black oil stains and a few holes.
Some of the areas were so worn from foot traffic that almost half of the wood plank was worn away. We might have to replace these sections.
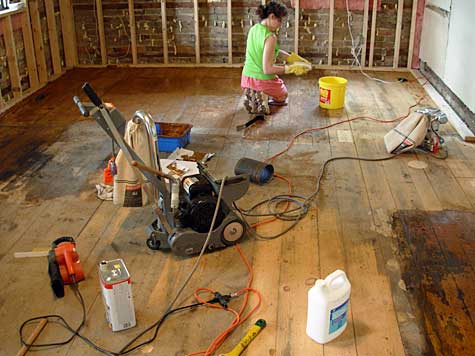
Image Copyright (c) 2006 Tim Warris
We rented all the necessary torture devices that Home Depot has to offer for floor refinishing. A few passes over the painted sections and it quickly became obvious that paint can not be sanded from a floor. It instantly clogs up the $10 sanding drums that the kind man at Home Depot so thoughtfully gave us 60 of. I now see why he did that…
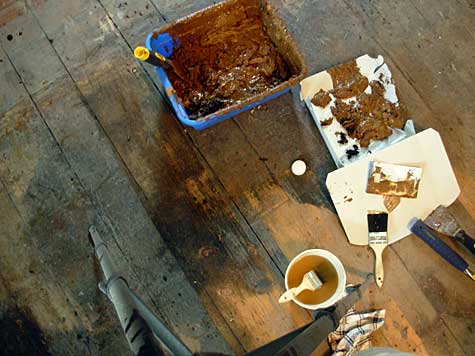
Image Copyright (c) 2006 Tim Warris
We decided to get some paint stripper and remove the paint first, and then sand the floor. This took and additional day, but was worth it as it did make sanding the floors much easier. The bucket contains a collection of floor paintings from the last 100 years.
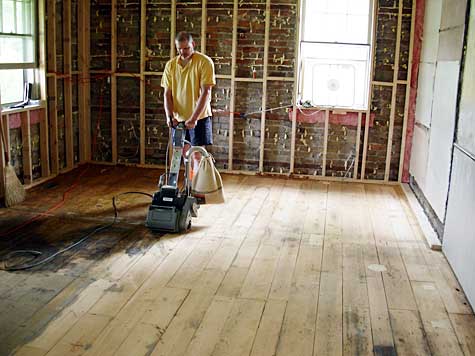
Image Copyright (c) 2006 Tim Warris
With the floor goop off, I could begin sanding in earnest.
I sanded….
Image Copyright (c) 2006 Tim Warris
and sanded….
Image Copyright (c) 2006 Tim Warris
and sanded…
Image Copyright (c) 2006 Tim Warris
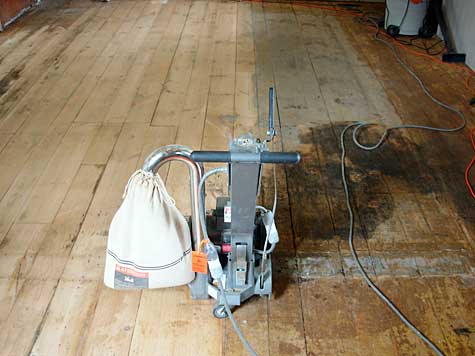
Image Copyright (c) 2006 Tim Warris
The difference between the original floor and the sanded floor was quite dramatic. We were starting to realize that the effort might just be worth it.
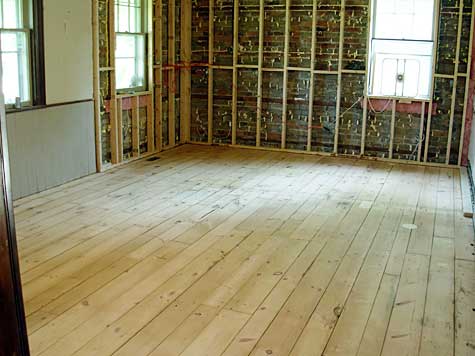
Image Copyright (c) 2006 Tim Warris
After two days of sanding, the floor was stipped, and ready for surfacing.
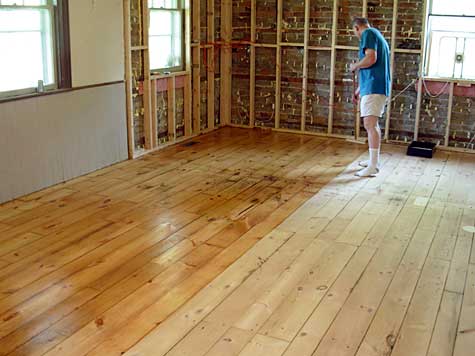
Image Copyright (c) 2006 Tim Warris
The finish on the floor is applied by wiping it on with a broom like tool. Its a pretty easy process and went quick. The drying time between coats was about 2-3 hours. A quick sanding and another coat was ready to be applied.
We put 5 coats on in total.
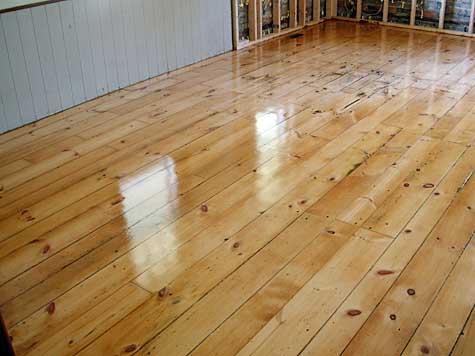
Image Copyright (c) 2006 Tim Warris
The results were stunning. Its difficult to show in a little picture, but the difference from the original floor to the refinished version is very dramatic. Much work, but worth it.
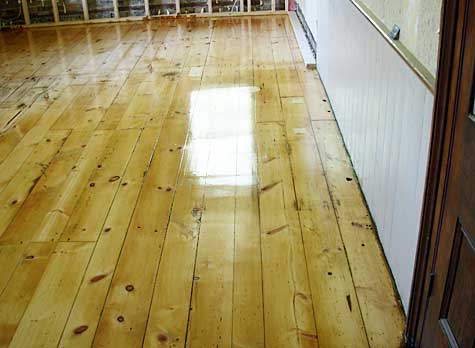
Image Copyright (c) 2006 Tim Warris
Here is a “Before and After” compliation…
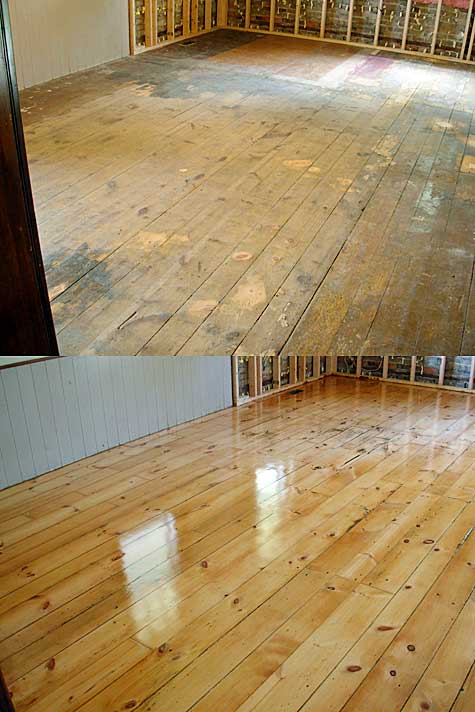
Image Copyright (c) 2006 Tim Warris
Fortunately we were blessed with the hottest and muggiest weather we have ever had here, and that made the entire job that much more “sliming”.
Starting this weekend we will get back to the completion of the room. Hopefully we will be ready to move in the next couple of weeks.
-Tim
Posted by: | 08-03-2006 | 11:08 PM
Posted in: Uncategorized
Tim And All Of You Guys And Vita Too:
I can’t beleive all the work you guys have done on one little floor, and this is only one small area. What about the rest? I’m tired out already just reading this.
You deserve a lot of credit for what you are doing however. I know that in time you will have a beautiful layout again even if it takes a year or two. I know you are happy doing all this and I’m happy just reading about it, not doing it.
Layout room reno
nice..
I guess I have to agree with mom in saying I’m happy just reading about it….an exceptional job all around, very impressive.
Thanks for sharing your trials and tribulations with your Fast Tracks extended family !
Congratulations on making all the right choices , it’s been an interesting trip ! Renovating an old house is always a daunting experience , but already the rewards are most evident !
Best of luck as your restoration of your “:Old House” contiues .
Ian in Etobicoke
I often wondered what everyone at Fast Tracks did in their spare time. What an amazing transformation! I bet you can’t wait for the “new” Port Kelsey to begin taking shape.
And to think, even with all of this extra effort to relocate, the Fast Tracks organization just continues to “hum along”.
Great teamwork guys and gal!
Looks good Tim , I,m sure Veta did all the work & you stood back out of the way. Shirley & I have done that exact thing before & it is not fun. The result is worth it though , is it not. Keep going !!!!
Dick
Great job guys. That looked like a ton of work (which I know is an understatement). Now with that nice new floor, aren’ t you going to hate either covering it up for the layout or…. getting construction materials and goo from from the layout construction on it? Better get that temporary cardboard down.
You should post some pictures of the outside of the house Uncle Tim!! Hey…did you know that new movie Silent Hill that came out in May was filmed in Burford, Ontario 🙂 I thought that was neat!
Looks like you did a great job, can we come over and bring our rollerblades and try it out?
Hi Guys!
Thank you so much for the fabulous pictures of the house!!! What a lot of work … but it looks to be well worth it. I sincerely hope you will be very happy in your new home once it’s complete for years and years to come. Please keep sending the pictures as you progress with the work I really enjoyed following you on your journey of renovation! Keep up the Great work, Jayne
Tim
This is better then watching; This Old House. Beautiful job on the floor. Looking forward to the day the new railroad is started. Good luck with the house … your new home.
Peter Willstein
Hi Guys
It’s been a few months since I visted your site, as always I enjoy getting the updates on fast tracks and the new house. Your floor looks amazing, you both did a great job. With Matt and I being new home owners ourselves, I can now appreciate tha amount of time and effort that gets put into home renovations. Keep up the good work, hope to see you soon.
Amanda