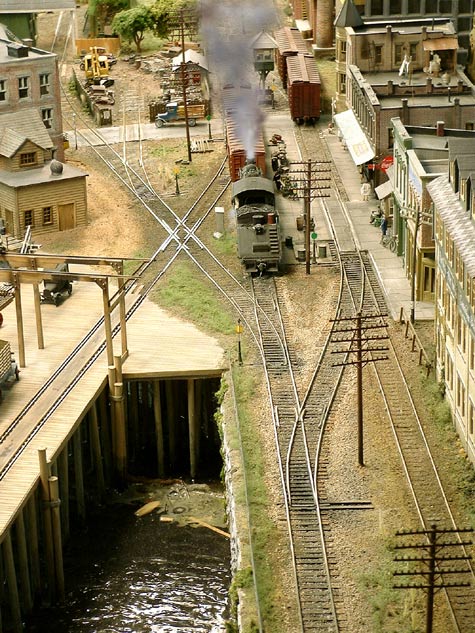
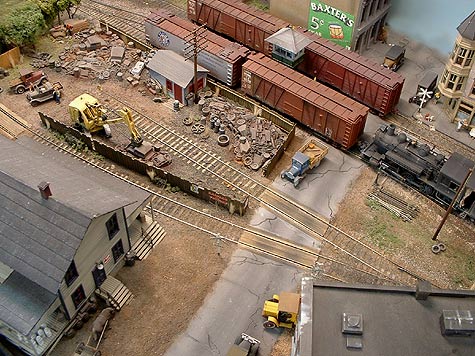
Port Kelsey aerial view
Since I am still working on wiring the town of Gage West (almost complete, more on that later) I figured I would post another shot of some finished scenes….
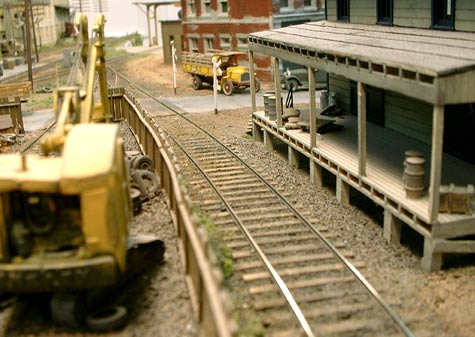
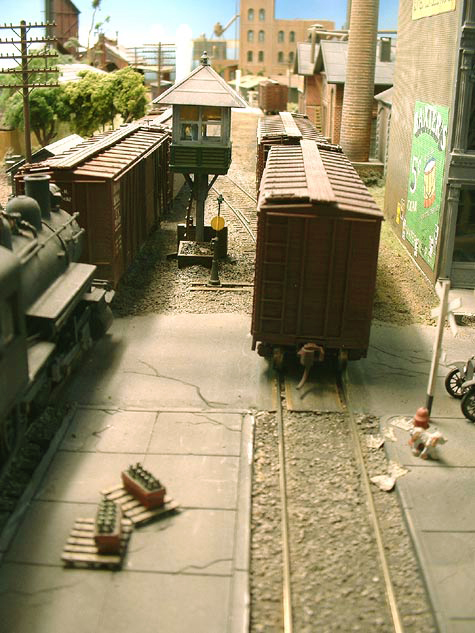
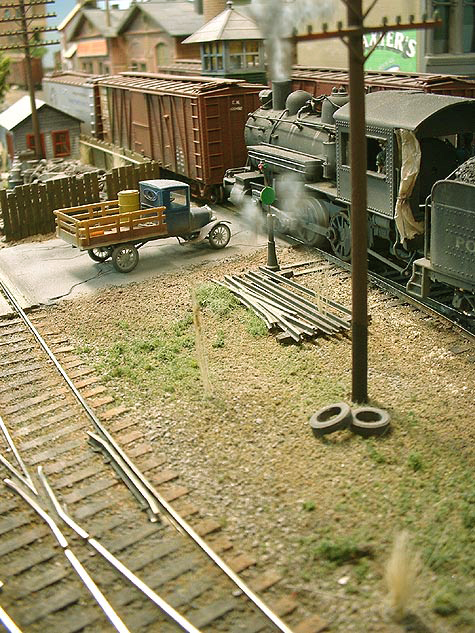
A few more….
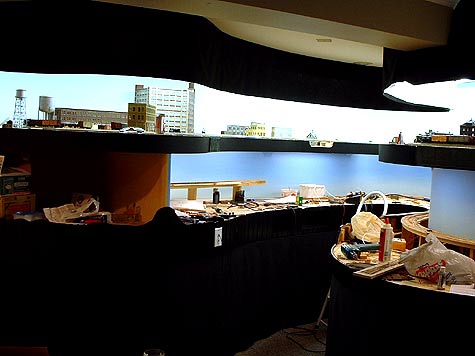
Now for a shot of reality…
After 2 weeks of pulling wire, the unfinished portion has got a bit messy…
Colourful Port Kelsey picture
This picture was taken by a friend of mine, Brian Wiebe, several years ago with a 4×5 camera. I always thought it was a great shot and thought I’d share it with you…
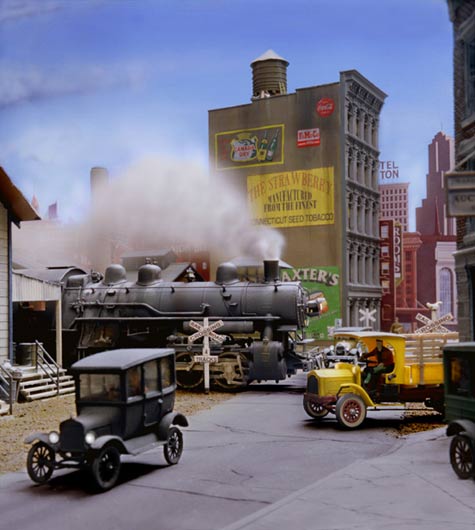
Copyright 1997 Brian Wiebe
The saga continues…
Its killing my neck! But I installed the 11 tortoise switch machines this area will require.
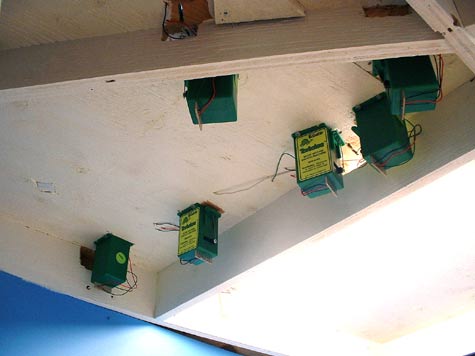
Image copyright 2004, Tim Warris
I love these switch machines! In the past I have always made my own, just out of habit and frugality. The amount of time using these saves is hard to overstate, and they are very powerful, something I was surprised to find out. Power routing the frogs was a snap with contacts included on the machine, route indication will be easy as well, something I have avoided in the past. We will be adding the Tortoise machines to the site very soon (shameless ad…)
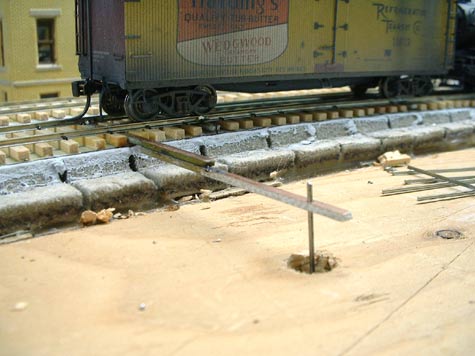
Image copyright 2004, Tim Warris
Naturally, 9 of the 11 machines I had to install ended up being DIRECTLY above a support or a light or something that was unmovable. 9 of them! What luck.
Since tortoises work best directly under the throwbar I was forced to add “extensions” to the PC board throwbars to offset the machines a bit. I will hide these extensions under some scenery or a building when the scenes are finished off….
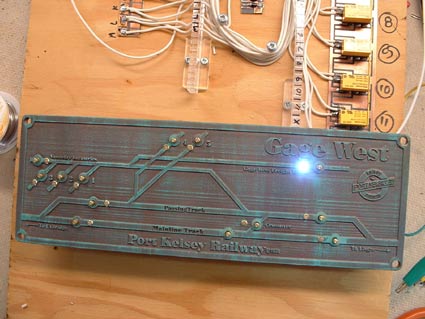
Image copyright 2004, Tim Warris
Here is the panel with all the home made push buttons in place. I prefer to make my own push buttons as I think they look far better then the big red ones available commercially, plus these are so simple, only 3 parts, that they never fail.
The LED’s are in place, these are 3mm white, set in a small brass bezel. They look brighter in the picture than they really are…

Image copyright 2004, Tim Warris
The downside to a “hands-off” type layout, wiring….
This is a relatively small panel compared to the monster I built a few years back for the 34th St. yard, but follows the same principals. I want to use push button route selection for all my switching areas, and this comes at a premium when using slow motion switch machines. When a button is pushed, power is routed to the individual machines via a diode matrix, and through latching relays, the relays will supply the power to the switch machines. This was a solid days work to build, and is still not quite complete.
The next step is installing the control panel and wiring up the push buttons and indicator lights, plus running the power wires to the individual machines. So about half way there, I will need a chiropractor when this is done….